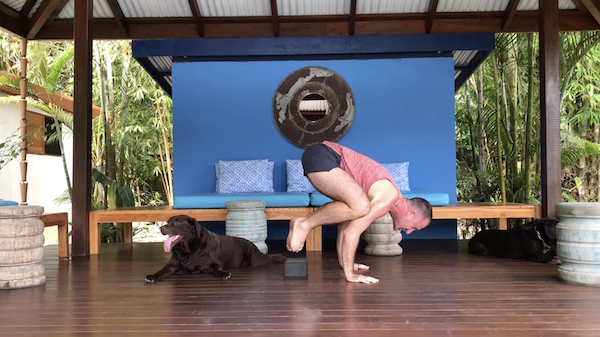
One of the first arm balances that yoga students will learn is Crow Pose, which some may also call Crane Pose. In order to move onto other arm balances, it is vital you understand and master Crow Pose first.
Students will most often perform this pose early during a class, as it takes a lot of strength and balance. It is advised you take the time to warm up before attempting this pose and refrain from practicing it if you have a wrist or shoulder injury as well as if you are pregnant. Beginners should set up a safe landing spot made of mats or blankets to cushion any falls they may experience while learning Crow Pose.
Benefits of Crow Pose (Bakasana)
Physical Benefits
Crow Pose makes for a wonderful full body exercise. It is especially great for strengthening your arms, wrists and core muscles. The pose allows your groin and upper back to stretch and tones organs within your abdomen.
As you continue to practice Crow Pose, you will notice an improvement in your body’s coordination and balance as well as increased spine flexibility. You may also notice a reduction in heartburn.
Internal Benefits
Crow Pose aims to improve your mind-body connection. Because the pose puts you into a vulnerable position of falling, it requires you to become more focused. As you master the pose, you gain confidence and a greater sense of awareness.
The confidence you achieve from getting over the fear of falling during the pose will translate into overcoming other fears you may have in your life. Your mind will begin to develop a greater sense of calm, helping you to better deal with stress and anxiety.
How To Practice Crow Pose (Bakasana)
Watch Yogi Aaron guide you through the proper alignment of Crow Pose in this tutorial video.
Step 1
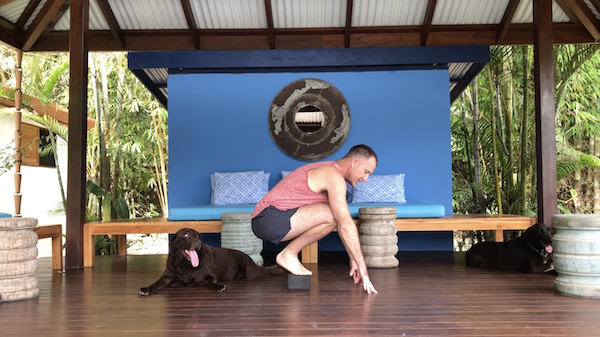
Begin by squatting while lifting your heels off the ground. You want to make sure your feet are spread about the same width as your hips. Place your open palms on the floor so your arms are vertical.
Step 2
The next step is to place your knees as high up the arms and into the armpits as you can. Do your best to keep your arms in a vertical position. Lean slightly forward while keeping your head in a raised position.
Step 3
Applying pressure to the floor with your palms, you’ll then begin to raise your hips as you slowly tilt forward bringing your weight onto your hands.
You’ll want to position your knees onto your triceps as high as you can towards your armpits.
Step 4
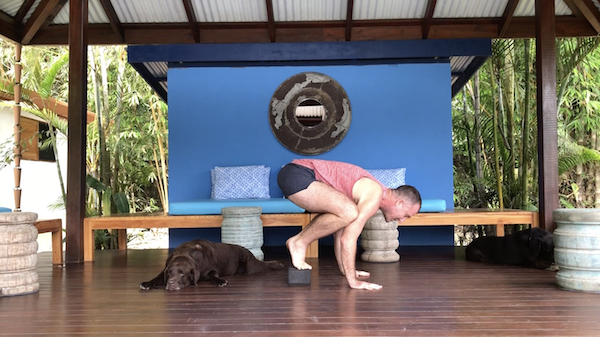
Begin slowly lifting a single leg, keeping it bent as you do so. You will continue to shift the weight of your body onto your arms and core. Once you feel you are in a well-balanced position, you can move onto the final step.
Step 5
Once you are balanced with one leg raised, you can now attempt to raise your second leg. Make sure you keep your elbows as straight as you can and not splayed out to your sides. With your head facing down, focus your eyes in front of you and not on your hands or feet.
Attempt to touch your big toes together and then bring your heels in towards your buttocks.
At first, try to hold this position for a few seconds while taking a few deep breaths. As you become stronger and more confident, you can work your way up to longer durations and more deep breaths.
[et_bloom_inline optin_id=”optin_16″]
Modifications For Crow Pose (Bakasana)
If you are new to Crow Pose, crouching on a block will help you to gain height and more easily transition your weight onto your hands.
Once you have mastered the traditional crow pose, you can then try performing bakasana from a tripod headstand, also known as Sirsasana II. The tripod headstand is so named because you have three points of contact with the ground during your headstand, your two open-palmed hands and head.
To attempt crow pose from a tripod headstand, you should have a well-defined core and good balance.
After achieving the tripod headstand pose, bring your knees to your triceps and slowly lower your midbody down and back into crow pose, making sure to keep your knees resting on your triceps between your elbows and armpits.
With knees in place, you can then shift your weight back onto your arms and core by pushing up on your arms. This should allow you to be positioned in crow pose.
Another variation involves returning from a Crow Pose directly into Chaturanga, before progressing into a vinyasa. To do this, begin in Crow Pose and once you find stability, fire your legs back as quickly as you can to land in Chaturanga.
If you find yourself struggling with this technique, go back to working on the traditional crow pose until you develop more strength, balance, and confidence.
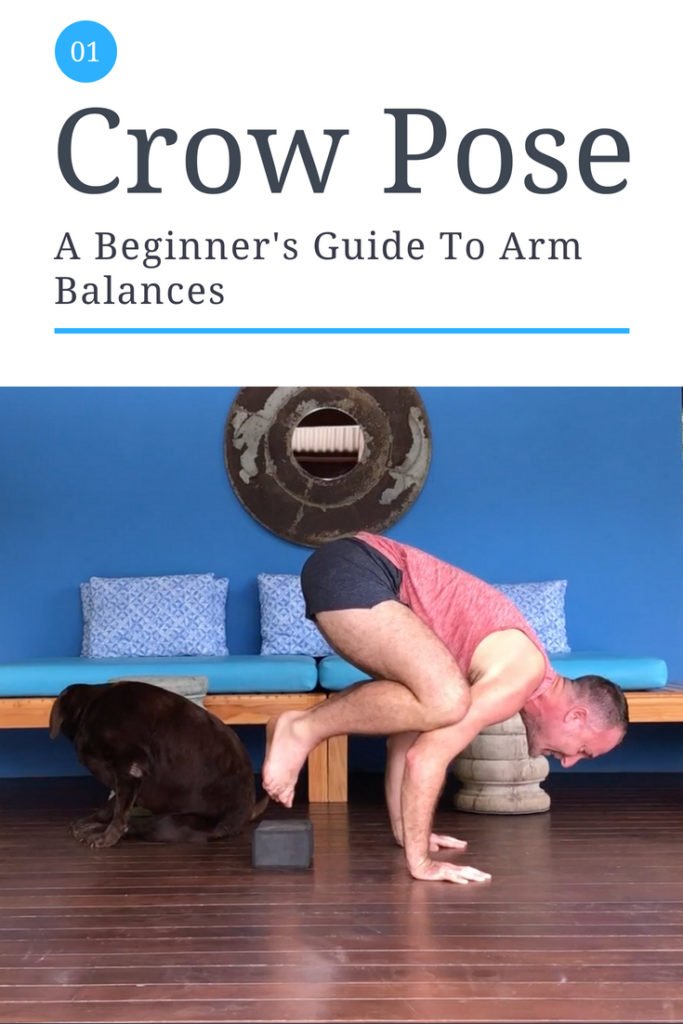
Pin It For Later!
About the author:

Casey Siemasko is a content marketing consultant, travel blogger, and wandering yogi. An entrepreneur at heart, she is the co-founder of the award-winning travel blog A Cruising Couple. Besides yoga and travel, she enjoys wine tastings, being outdoors and taking on new hobbies. Follow Casey on LinkedIn and Google+.
Follow Casey:


