Do you suffer from chronic knee pain?
One in four Americans does* — making yoga for knee pain one of the most common requests I get from people of all ages, fitness levels, and backgrounds.
Look, I know just how frustrating and debilitating knee pain can be because I’ve suffered from it, too. I remember one agonizing event like it was yesterday…
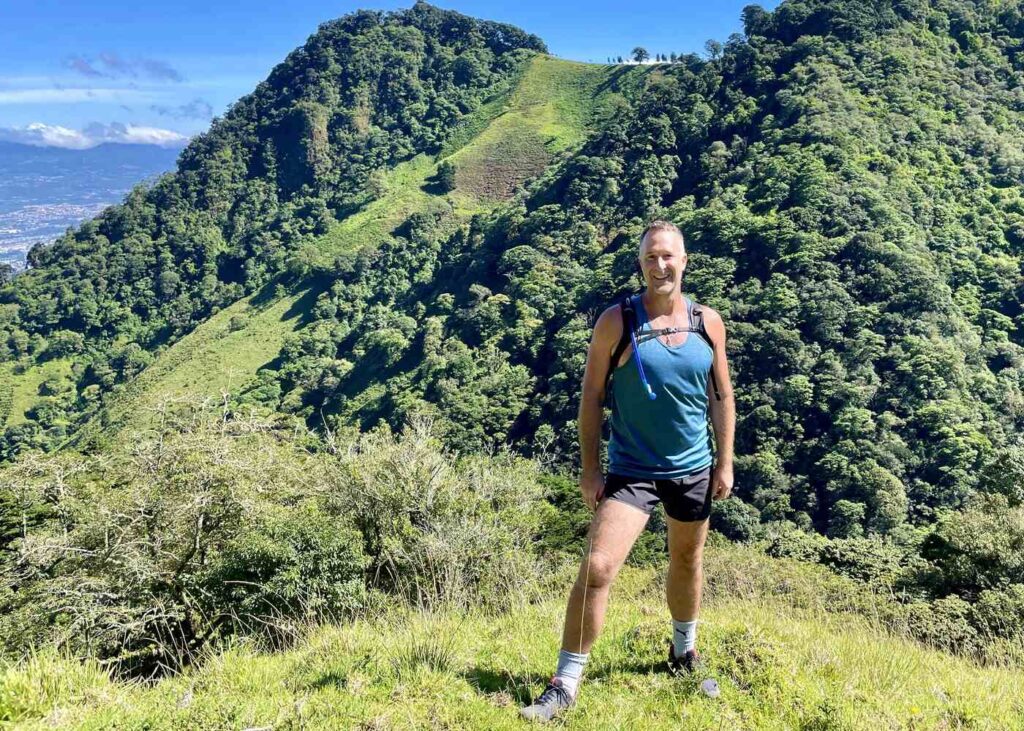
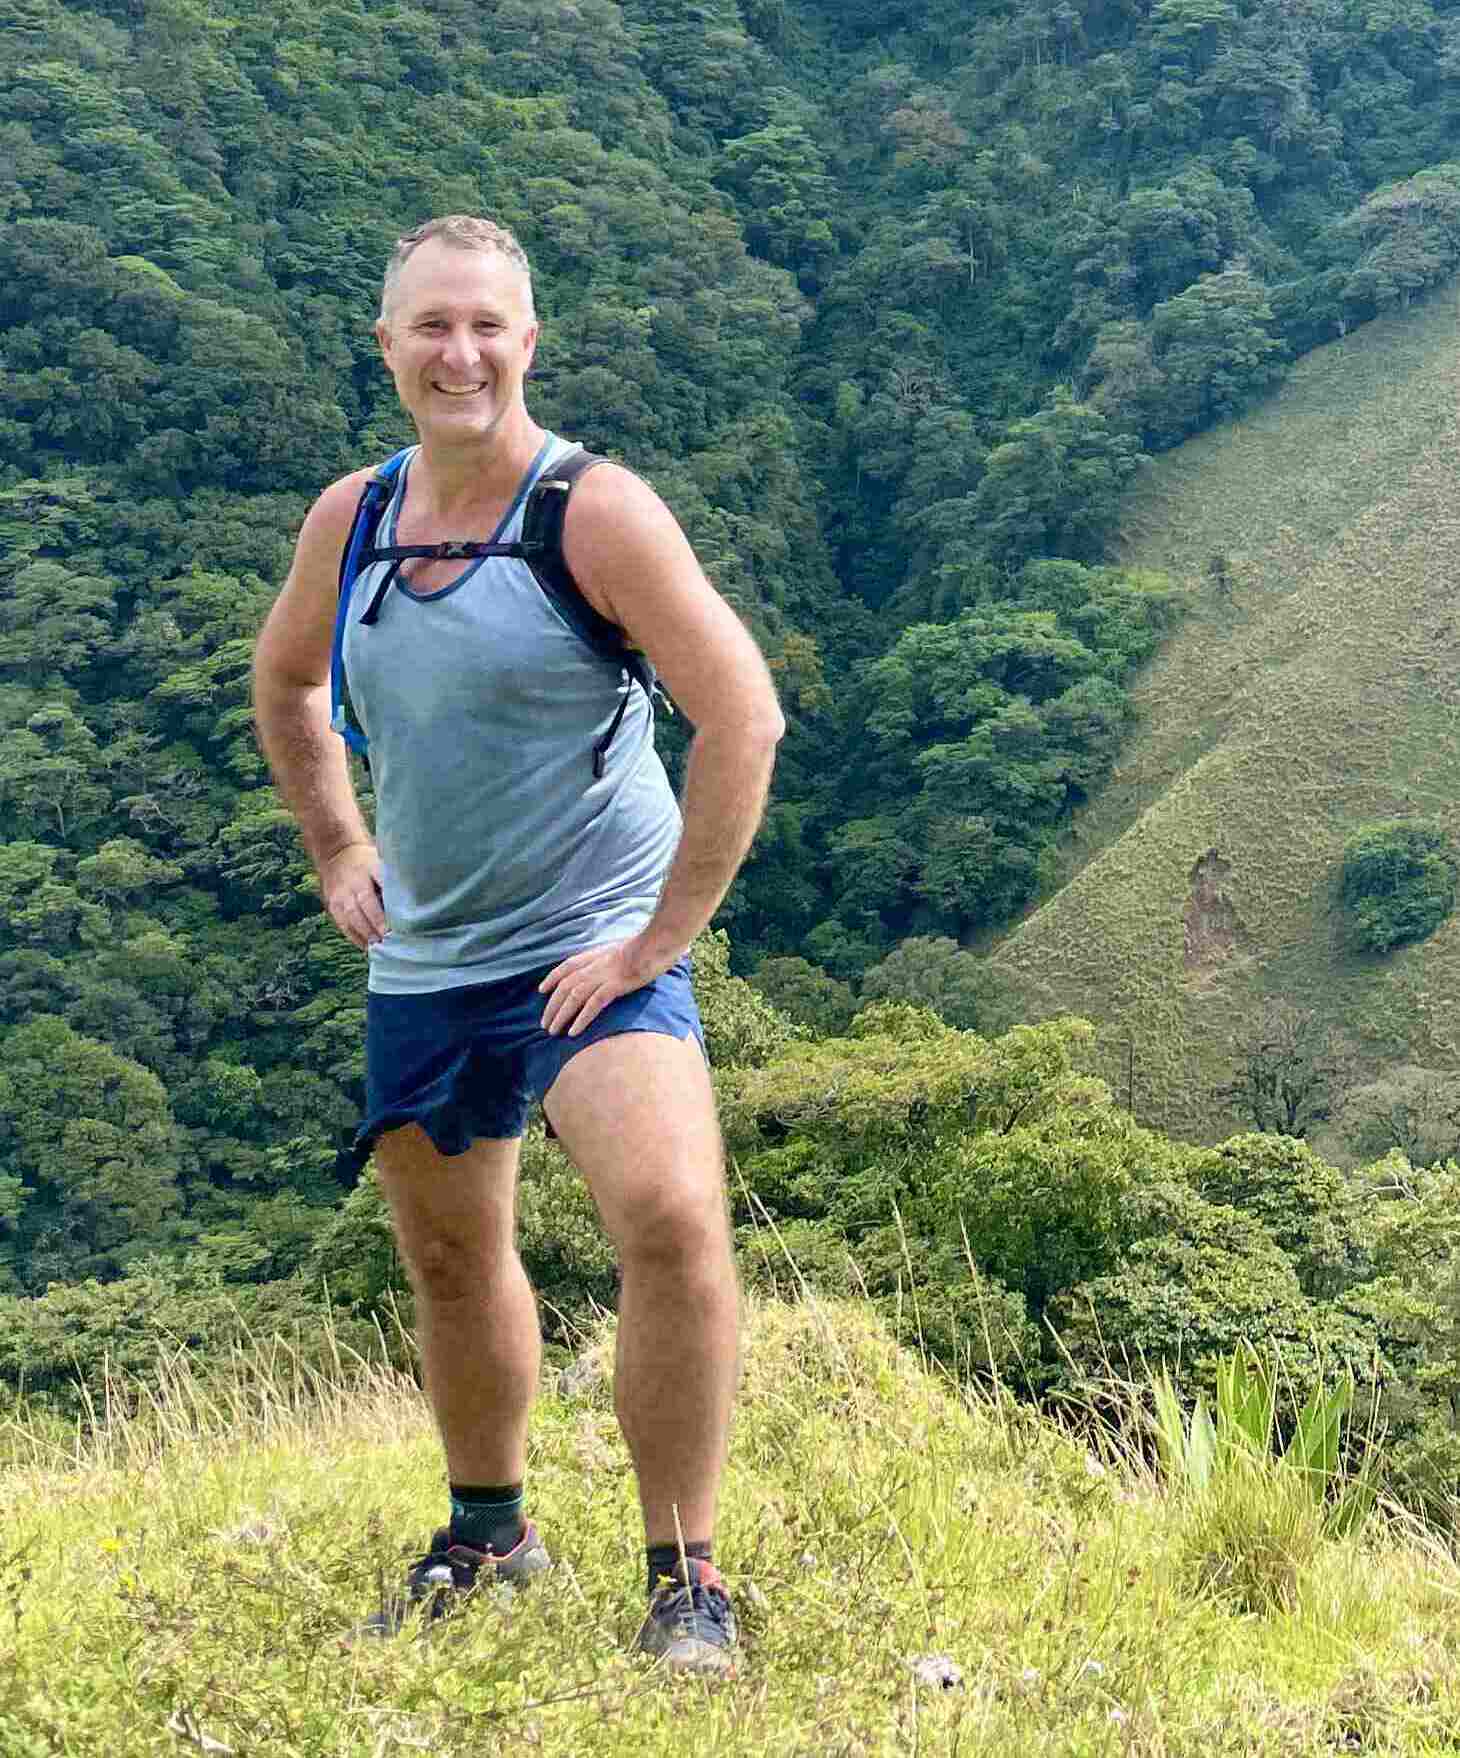
I was out enjoying a brisk hike (one of my most beloved pastimes) when suddenly, my knees completely gave out beneath me. I was in excruciating pain, but I was also shocked. I immediately wondered:
Would I ever hike pain-free again — or would chronic knee pain stop me in my tracks for good?
Today the story is a little different…
Now, I’m grateful to say I live a pain-free life, and I enjoy hiking (or any other activity) whenever and wherever I like. And I’m on a mission to help you experience the beauty of a pain-free life, too.
So, if you’re looking for yoga for knee pain, here’s what I want you to know:
1. You’re not alone.
2. There is a solution: Applied Yoga Anatomy and Muscle Activation (AYAMA)
Now, before we dive into the yoga poses that will help you alleviate knee pain today, let’s take a closer look at why you’re experiencing knee pain. Once we understand the actual cause of pain, we can begin to address it with proven methods for lasting relief.
Let’s dive in!
The true reason behind your knee pain
Why do so many of us experience chronic knee pain — and what can we do about it?
Most people assume their knee pain has to do with, well, their knees. After all, that’s where you’re experiencing the pain! I can’t tell you how many times I’ve heard:
“I just have bad knees — there’s nothing I can do about it! How will yoga help my knee pain?”
Here’s the truth:
Most often, knee pain results from weakness in the surrounding muscles. When your muscle support system isn’t working correctly, your knees become the body’s primary shock absorber — and pain then follows.
By activating the muscle groups that work with the knees, we reduce stress, trauma, and overuse of the knees — and that means an improved range of motion, better stability, increased alignment, and most importantly, reduced pain in the body.
If muscle activation is a new concept to you (and it is to most), then hop over to this article: The 8 Benefits of Muscle Activation in Yoga. You’ll gain a deeper understanding of what muscle activation looks like and understand why this proven system is crucial to eliminating pain.
The three muscle groups you need to activate to eliminate knee pain
Let’s explore the primary muscles that, when inactivated, could cause knee pain:
1. The Glutes
The glutes are one of the biggest muscles in the body, and they play a significant role in removing stress from the spine and preventing lower back pain. What many people don’t realize, though, is that the glutes also help control movement in the knee joints.
So, when the glutes aren’t functioning correctly, pain in the knees often results.
2. The Hip Flexors
 Take a moment to lift your knee towards your chest. Can you feel your hip flexors working? Good. This vital muscle group helps us run, climb, and squat. But when the hip flexors aren’t firing correctly, other muscle groups must overcompensate — and that creates a perfect storm for knee pain.
Stay with me for a brief but essential anatomy lesson…
When the hip flexors are tight (especially the iliopsoas), they pull the pelvic bone into an anterior tilt position. This impacts how the head of the femur fits into the hip socket, causing the hip and femur to rotate internally. Now there’s misalignment at the knee joint, which makes the surrounding muscles and tendons tighten…
…And that creates knee pain and leads to an increased risk of injury.
3. The Rectus Femoris
Rectus Femoris might sound like a spell out of Harry Potter, but it’s actually one of your four quadricep muscles. It crosses both the hip and knee joint and is responsible for flexing the hip and extending the knee.
If your knee pain flares up while walking up and downstairs, kicking, running, or squatting, then a tight Rectus Femoris could be to blame!
Now, here’s the thing:
Most of us spend all day sitting — a sure-fire way to turn off and tighten the glutes, the hip flexors, and the Rectus Femoris!
Practicing the below yoga for knee pain is an excellent way to awaken and activate these muscles.
However, if you’re truly ready to nix knee pain for good, you’ll want to check out our free 15-Day Pain-Free Challenge.
In this step-by-step video program, I’ll teach you the EXACT pain-relief system I’ve used to help hundreds of students nix pain and reclaim their lives for good.
Claim your spot and join the free Challenge today.
Yoga for knee pain: 5 poses to try today
Before you move into the following yoga poses for knee pain, I want to say this:
You can’t stretch your way out of knee pain. In fact, passive stretching debilitates muscle function, leading to more injury and instability in the body.
Active stretching like in the following yoga poses for knee pain, however, means there is muscle engagement, so you can safely open, stabilize, and activate the muscles.
Now, without further ado, let’s explore some of the best yoga for knee pain relief:
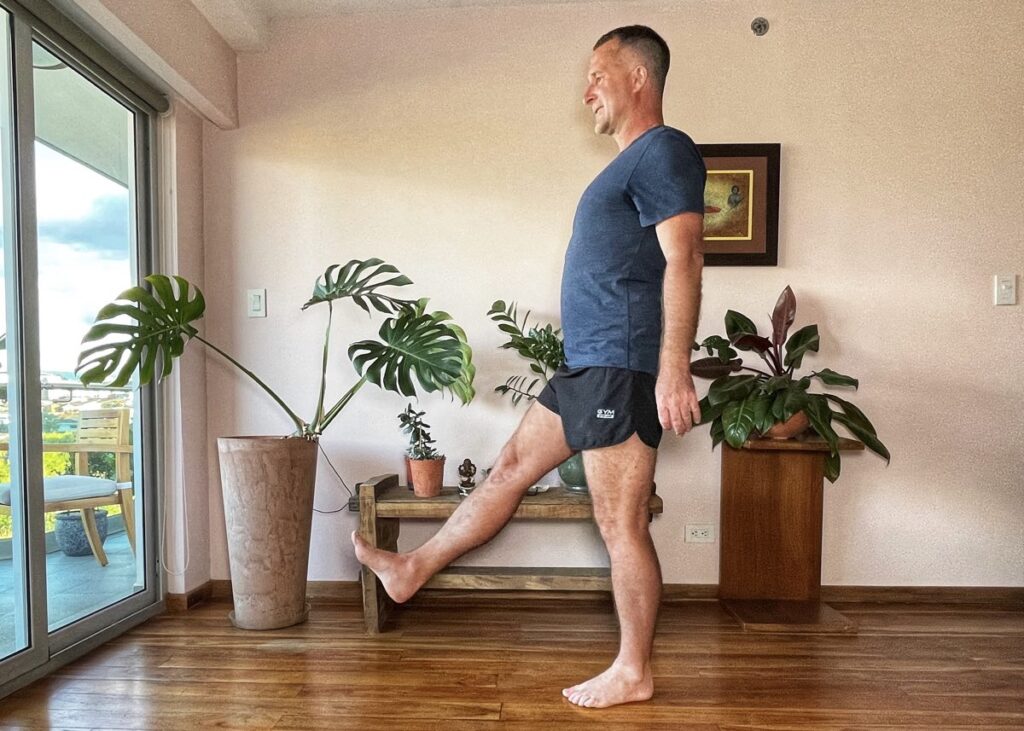
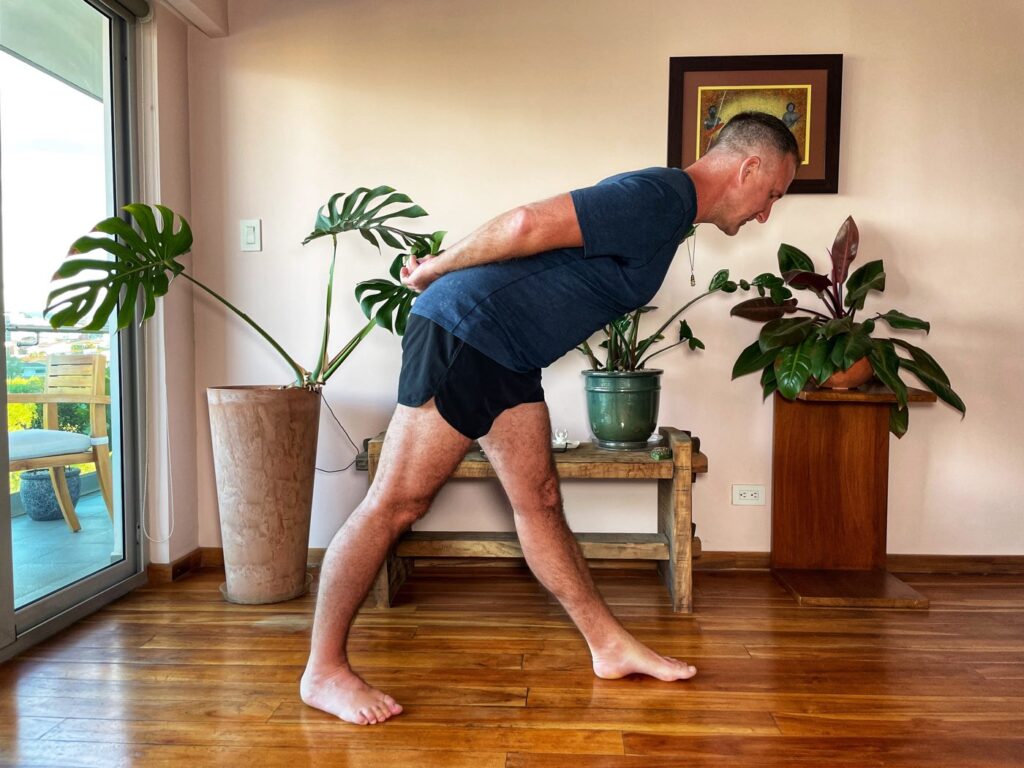
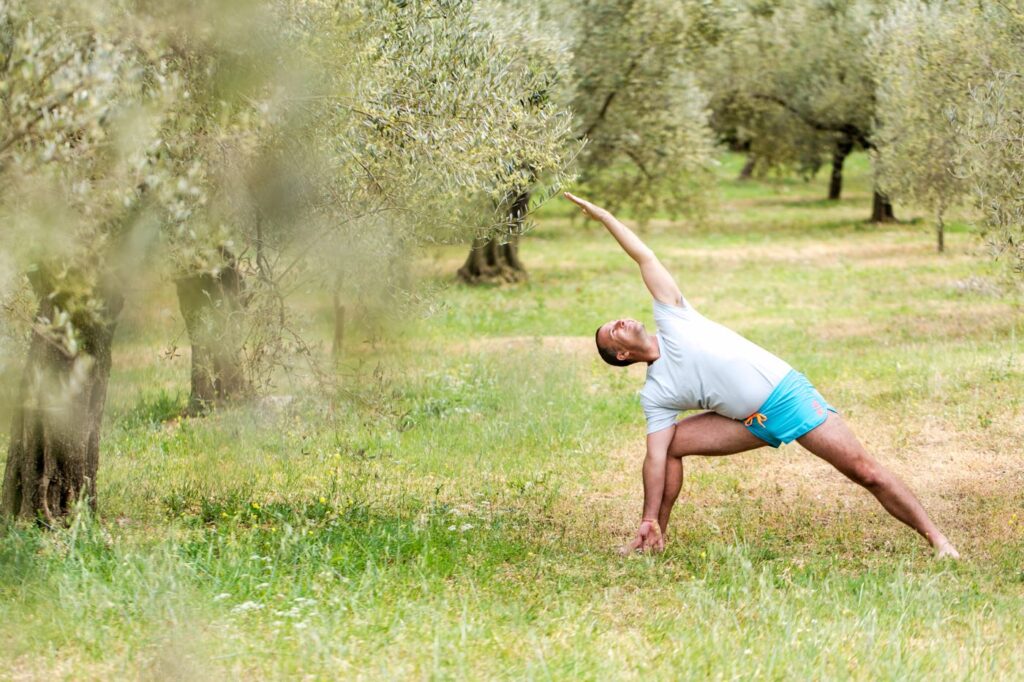
1. Standing Leg Lift + Parsvottanasana (Pyramid Pose)
Come to a strong but relaxed standing posture. Keep the right leg straight and begin to lift it off the ground. (If this movement isn’t available to you while standing, you can try it from a chair.)
You don’t have to lift the leg high, and you certainly don’t want to force it higher than feels comfortable. Hold the leg in the air for six seconds, then release. Repeat these knee pain yoga exercises six times.
As you practice the leg lift, you’ll start to feel your hamstrings naturally relax. That’s because the hamstrings are antagonist muscles; when we strengthen one muscle group, the antagonist relaxes.
Parsvottanasana is an easy test to check if your hamstrings are relaxed — no passive stretching is required.
Step the left foot back about three feet from the right. Keep your hips aligned towards the front of your mat. Interlace your fingers behind your back (or take them to your hips.)
On your next exhale, begin to hinge at the hips. You don’t need to fold over your front leg; just notice any length created in the hamstrings. On the inhale, come back up. Repeat a few times, moving with the breath.
Repeat sides, beginning with Leg Lifts.
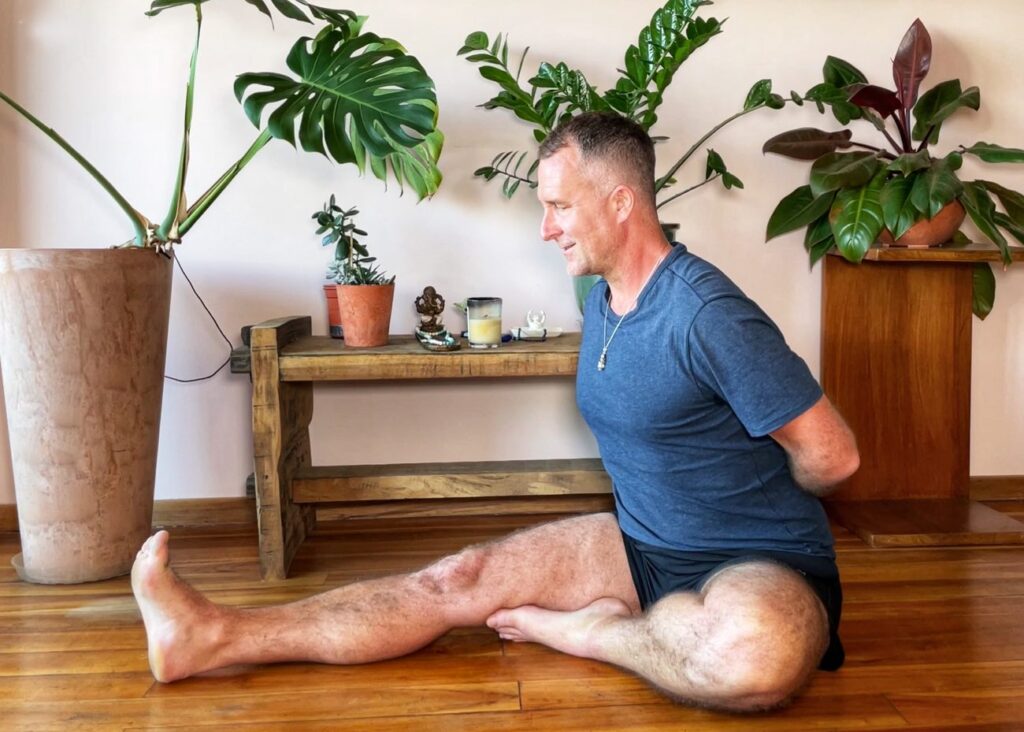
2. Janu Shirasasana (One-Legged Forward Bend)
Come to a comfortable seated position. I recommend sitting on a block to create additional space in the lower back.
Bring the right foot in to meet the left knee; Keep the left leg extended straight in front of you. Link your arms behind your back while actively squeezing the core.
Next, contract the left quad. Inhale to lengthen, exhale to slightly twist in the direction of the leg (about 5º,) and fold over the left leg gently. Stay here for just a moment. Inhale to come back up; pause and repeat the movement on the same side two more times. Then, switch sides.
Avoid pulling on the left foot with the hands to force the torso onto the thigh. Remember, when it comes to yoga for knee pain, it’s not about flexibility but muscle activation of your core!
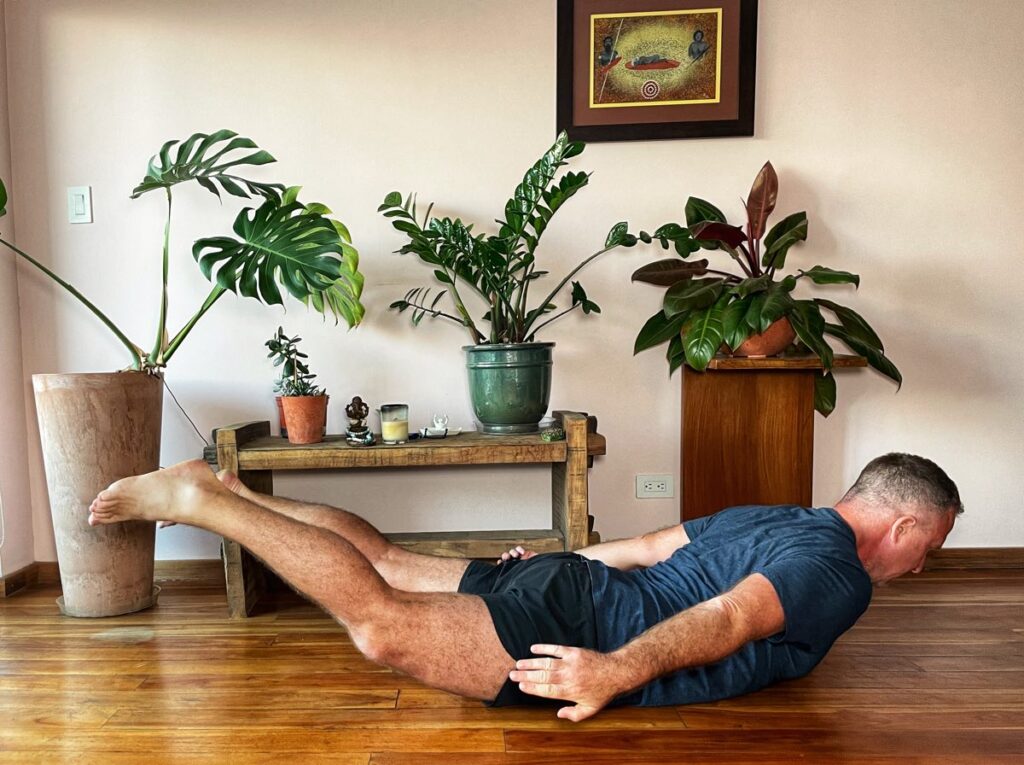
3. Salabhasana (Locust Pose)
If you’ve ever taken a class with me, then you already know that Salabhasana is one of my all-time favorite knee pain relief yoga poses.
Salabhasana is a potent way to strengthen both the back and abdominal muscles (and relieve back pain in the process.) But it’s also a great way to fire up the glutes!
Start by lying on your stomach with your arms by your sides, palms facing up, and your forehead resting on the floor.
Next, slowly raise your head, torso, arms, and legs up off the mat. Be sure to keep your big toes together. Focus on lengthening your body while keeping your gaze fixed ahead of you.
On the exhale, fully relax and release. Maybe move your hips from side to side to shake out the glutes. Then, repeat two more times.
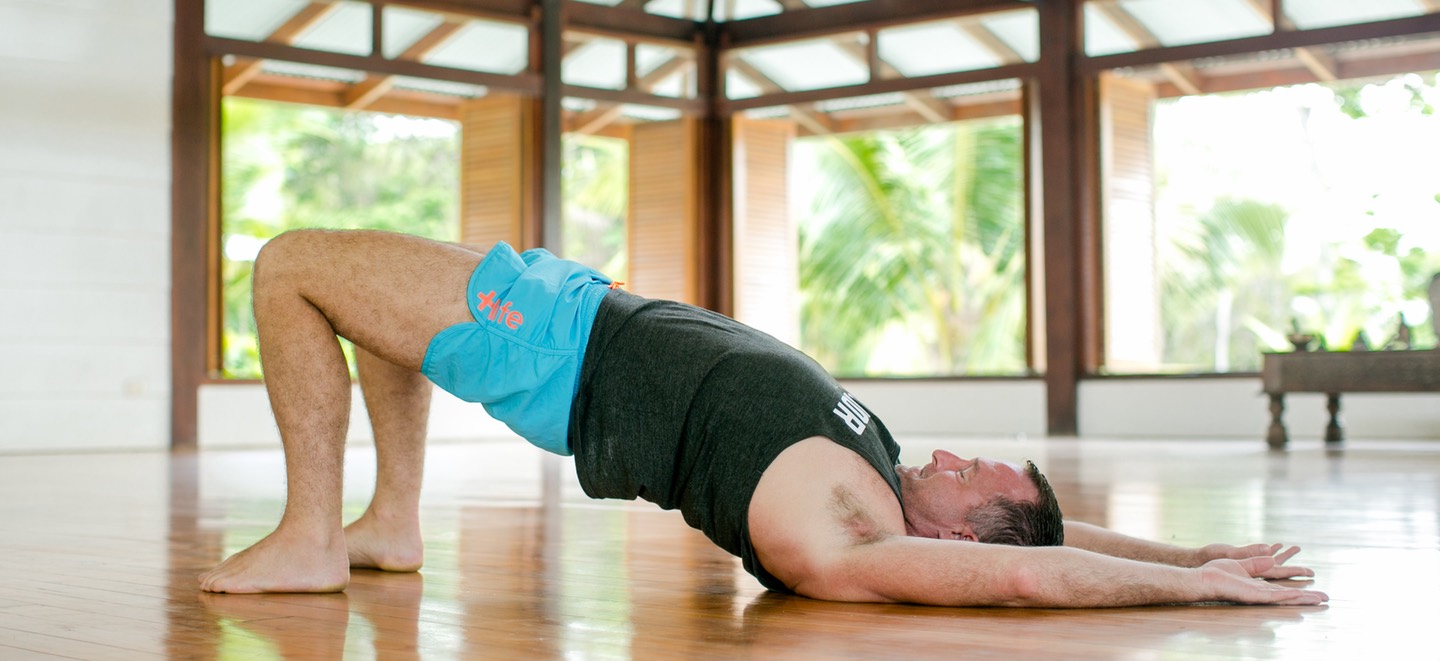
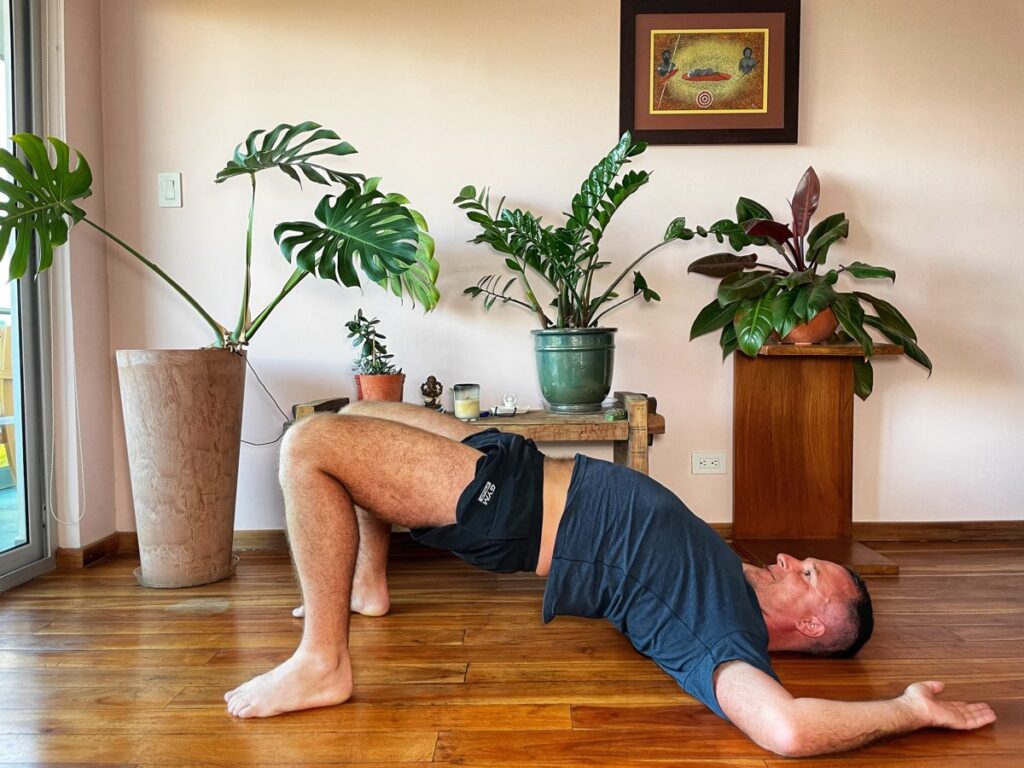
4. Setu Bandha Sarvangasana (Bridge Pose)
I’ve said it before, but I believe it bears repeating:
The glutes are a vital shock absorber for the spine and the knees, plus they keep the hips and thighs functioning correctly. So, if you’re experiencing chronic knee pain, don’t underestimate the power of Bridge Pose to wake up those glutes.
Start by placing a block between your thighs. Your feet should be just a bit wider than hip-distance apart. Now, drive your feet and shoulders into the ground and lift the hips, squeezing the block as you do so.
Repeat and hold this pose for six seconds, six times — always moving with the breath.
5. Garudasana (Eagle Pose)
Eagle Pose isn’t just a fun balancing posture; it’s also an effective way to strengthen the ankles, knees, legs, hips, and glutes.
Start by squeezing the thighs and glutes together. Lift the left leg up and over the right. Bring the arms out, then take the left arm underneath the right. Again, squeeze everything in while lifting up at the pubic synthesis. Continue breathing as you engage and — I’ll say it one more time — squeeze all the muscles.
Inhale to lift the left leg. Hold here as you strengthen the left leg. This activates the rectus femoris and engages the hip flexors.
Slowly release the leg. Switch sides.
As you continue practicing Eagle Pose, you’ll notice you start generating a lot of energy in the body. That’s a very good thing! Plus, whenever we’re squeezing, we’re moving blood and lymph and improving circulation, too.
Now…
There’s a lot going on in Eagle Pose; proper alignment is crucial to reap the muscle activation benefits. So, I created an Eagle Pose video tutorial to walk you through everything you need to know to safely and effectively practice this posture.
It’s filmed at the Acropolis, so why not take a virtual vacation with me to Athens, Greece, as we get stronger together? You’ll find Eagle Pose at 5:10, but I recommend joining me for the full practice if you want to activate and strengthen the entire body in under 20 minutes!
Do you dare to become pain-free?
Does relieving pain, tension, and tightness sound too good to be true? That’s what I used to think, too.
After all, over 50 million people in the United States suffer from chronic pain. If there were a way to become pain-free, wouldn’t everyone already know about it?
The thing is, a lot of advice for yoga for knee pain is just plain wrong.
There’s a better, faster solution to relieving pain — one I’ve seen work time and time again with hundreds of my students: Applied Yoga Anatomy and Muscle Activation™.
This revolutionary way to practice yoga focuses on activating and engaging the muscles — not stretching them out. (AND NO ONE ELSE IS TEACHING THIS!)
I’ve used this proven system to help people who have struggled with chronic pain for years — and they are shocked when they leave feeling stronger, more mobile, and, most importantly, pain-free.
That’s why I created this Webinar to help to help you get rid of knee pain.
In just 1 hour, I’ll teach you how to become pain-free for good in your knees…
But don’t take my word for it. Dare to live your life pain-free — and start living the life you know you deserve.
About Yogi Aaron

Yogi Aaron is the owner, operator, and lead yoga facilitator at Blue Osa and of the yoga teacher trainings.
Creator of Applied Yoga Anatomy + Muscle Activation™ Yogi Aaron brings three decades’ worth of study, mentorship, and experience into his teachings, with a strong emphasis on yoga therapy and alignment.
The Muscle Activation Yoga Classes is an exploration into your body, its muscles, and to learn how to improve its function through using Applied Yoga Anatomy + Muscle Activation™.
Find out more about yoga teacher trainings with Yogi Aaron at Blue Osa Yoga Retreat + Spa.
Read More about Applied Yoga Anatomy + Muscle Activation
* https://acl.gov/news-and-events/news/one-four-adults-suffers-chronic-knee-pain


