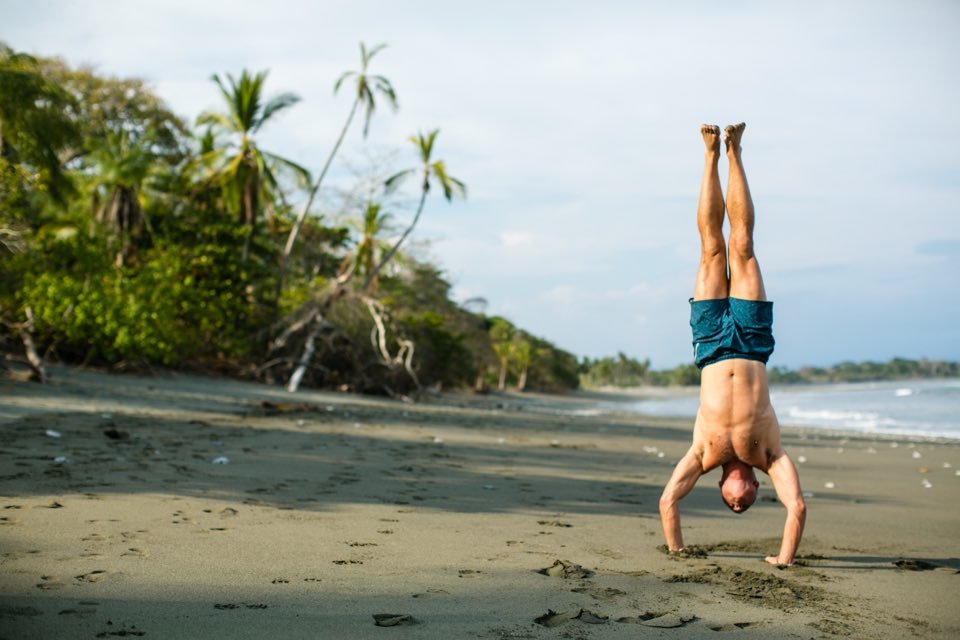
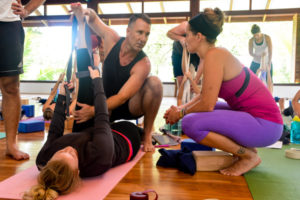
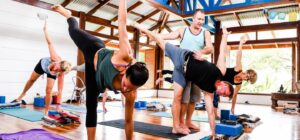
I think of handstands being like cats or dogs: you love them or hate them. The hate comes from fear, usually of falling and injury. Two weeks into volunteering at Blue Osa I attend a yoga class focused on ‘fear’ addressed with hand balances. Valentina, an RYT-500 full time certified yoga instructor at Blue Osa, beautifully crafted, and walked us through facing our fear of handstands in a clear, concise step-by-step process.
My Fear of Handstands
Secretly, I am sitting in the back of the class excited and fearful of this class. Ten years ago, in my first hot yoga class, I dislocated my left shoulder trying to handstand and jump back into a plank. It took me five years to return to inversions from this injury; the slow process of retraining and rebuilding strength in my shoulder girdle alongside the fear of dislocating it again.
Due to ill health, my progress was set back when inversions became a trigger for migraines. The head placement and tension of my shoulder and neck area increased my fear of suffering from these asanas. Even as I teach yoga, I teach all the aspects towards inversions and I work with confident students to ‘demo’ rather than me.
Our Baby Steps to Handstand (Adho Mukha Vrksasana)
Valentina’s baby steps to conquer each phase of our fear of handstands were simple. Here’s how she did it:
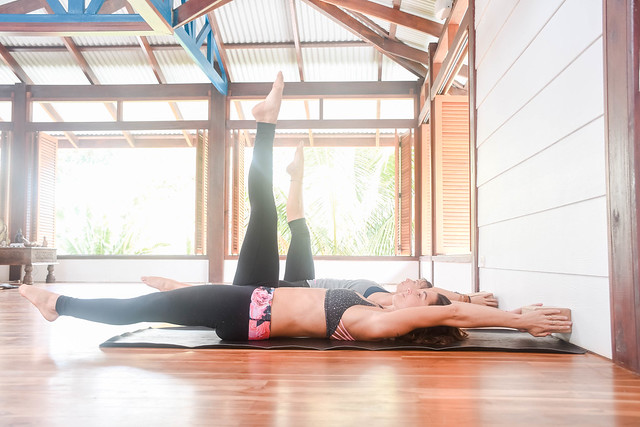
1. Warmup: Core strengthening with Arm Reaches
a. We held the block between our palms, pressing firmly and with straight arms reached overhead.
b. Hovering the arms off the floor as they held the block, we then lifted 1 leg straight to hip height.
c. Then pulling the abdominals into the spine hovered the other leg just 1 inch off the floor.
d. We repeated this on both sides twice.
Tip: draw ribs and pelvis towards each other and navel into the spine to protect the spine.
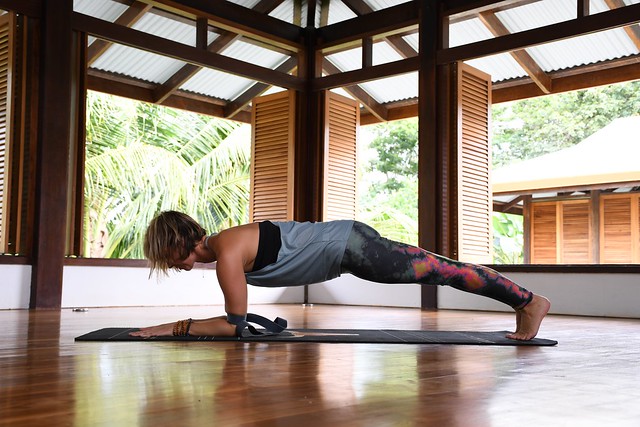
2. Chatarunga Dandasana Strengthening
a. Take your strap and loop it to the width of your inner shoulder distance. Place both blocks on their highest settings.
b. Come onto all fours hands and knees, with shoulders over hands.
c. Lower your shoulders bending your elbows as far as you can without the shoulders dropping into your ears or collapsing your belly to the floor.
d. Don’t worry about how close you are to the bricks; this is not about how low you go!
e. Repeat this at least 5 times.
Tip: Draw your ribs into your spine and keep the upper back feeling broad as you lower down.
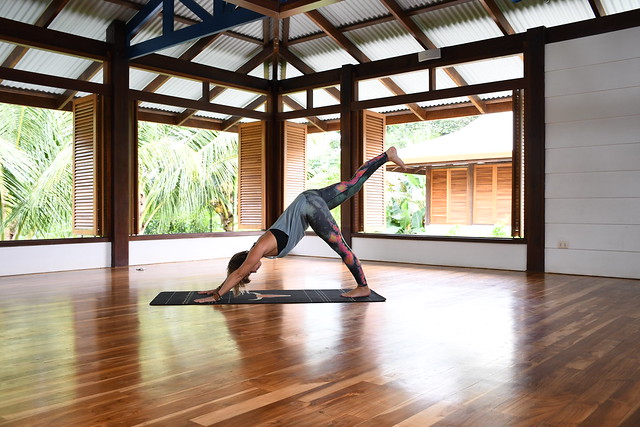
3. Downward Facing Dog Splits (Ardha Muka Swanasana)
a. Come into your downward facing dog.
b. Then lift 1 leg square towards the ceiling, keep your hips square.
c. Draw knee to nose, allow the back to round and shoulders come over hands. Use abdominals to lift the pelvis high
d. Draw the leg back to downward facing dog split.
e. Repeat 3 times. Change legs.
Tip: Draw shoulders over wrists as you come forward and allow the upper spine to round spreading the shoulder blades.
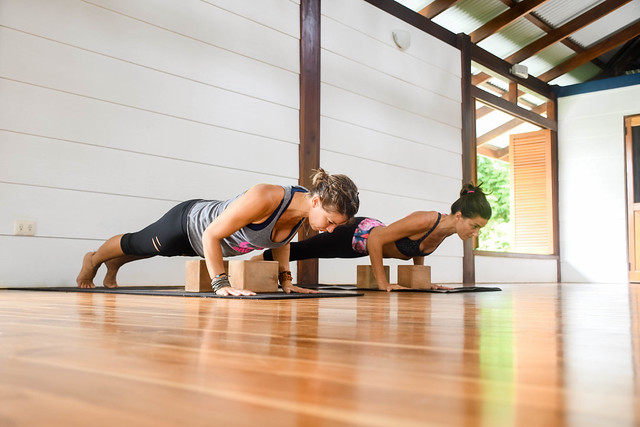
4. Chatarunga Dandasana Push Ups
a. Place 2 Bricks at middle height width ways on the mat – 1 under the low ribcage and 1 just above the two hip bones.
b. Take chatarunga shape resting your points on the bricks.
c. Push up to plank straightening the elbows only.
d. Lower back down with control.
e. Repeat this at least 5 times.
Tip: Draw your ribs up and pelvis up first to lift from your abdominals. This makes the arm work lighter.
5. Handstand Prep 1: ‘L shaped legs at wall’
a. Place your mat against the wall. Sit on the floor with your legs straight and feet flat against the wall to measure the length of your legs to the wall. Place a brick on either side of your hips as markers next to your mat.
b. Take the yoga strap around the upper elbow/ low tricep area and place your hands by the block markers with arms straight.
c. Step one foot against the wall no higher than hip height. Use your abdominals to lift the other foot off the floor.
d. Check that your shoulders stack over your hands – it’s scary! Keep practicing this.
e. If, and when confident with one leg, build towards 2 legs against the wall. Straighten the legs and stack your hips and shoulders over the hands. You will be in a 90-degree angle shape at the wall.
Tip: Make sure that you keep your elbows straight all the time and do not let the shoulders come forwards of your hands.
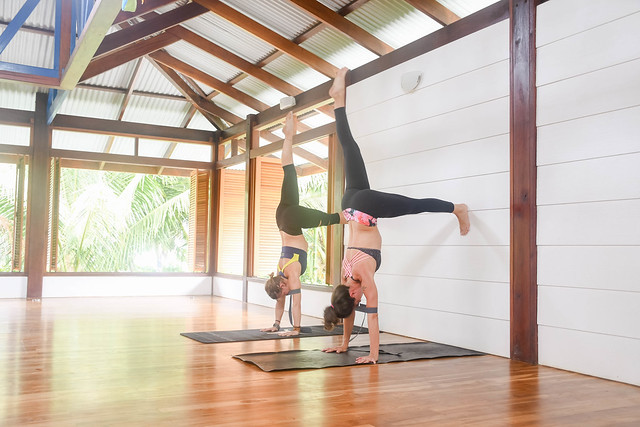
6. Handstand Prep 2: Controlled kick up
a. Place your hands 4-6 inches from the wall so that the head has space. Your looped strap is around the upper elbows.
b. Lift one leg towards the ceiling (like your downward facing dog splits in 3 above) and focus on rotating the inner thigh in and up towards the ceiling.
c. Spring off your floor leg to kick up. Try to hover the hips over the shoulders and hands, return with control. You can keep the legs split throughout this practice.
d. Repeat 5-8 spring ups. Change legs so you practice both sides.
Tip: The inner thigh lifting is key to get the abdominals to support you and lift you lighter.
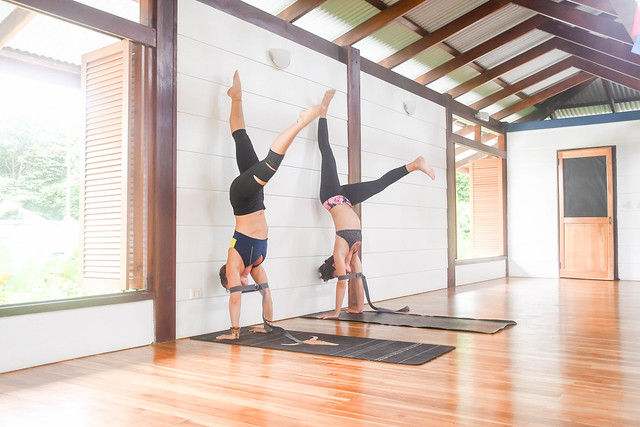
7. Handstand Prep 3: Strength Building the Arms
a. Start in the same position as Handstand Prep 2, but relax neck and head as much as possible.
b. Turn your fingers out to the outsides of your mat to externally the shoulders – it is more comfortable and stable.
c. Kick up your legs to the wall, and let them rest against it. Allow the pelvis rest against the wall too. Press through the soles of your feet like you are standing in tadasana (mountain pose).
d. Draw the ribs into the spine, push the hands into the earth to ground down and give you strength to lift your body off the floor.
e. If comfortable, practice bringing legs away from the wall and return down to the ground with control, 1 leg at a time.
Tip: Practice pressing the hands down, feeling the arm bones ‘plug’ into the shoulders to help you lift-up as though you are doing mini-springs on your arms. This will strengthen the shoulder girdle.
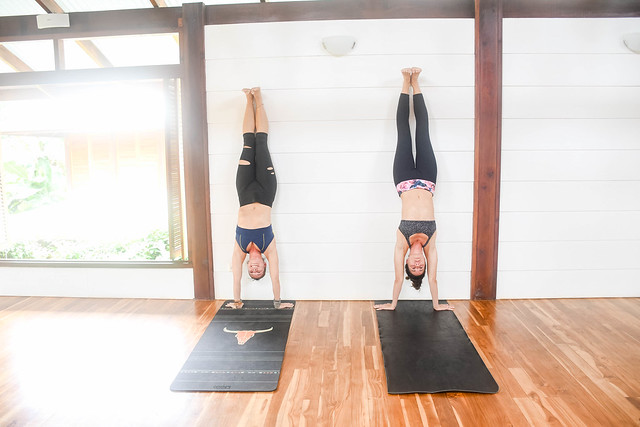
Class Feedback
Everyone loved the class and each one of us faced a new fear in the steps, even those confident of a handstand noticed a fear in one of the baby steps towards the full expression. My takeaway from the class was:
Remain present on consciously mastering the current task before taking the next step. When we jump ahead we may not be ready or have conquered a key component of where we want to go. It is the journey of learning to walk, not walking that a baby laughs and gets the most joy from. So, take the baby mind and enjoy your baby steps to face your fears!


